
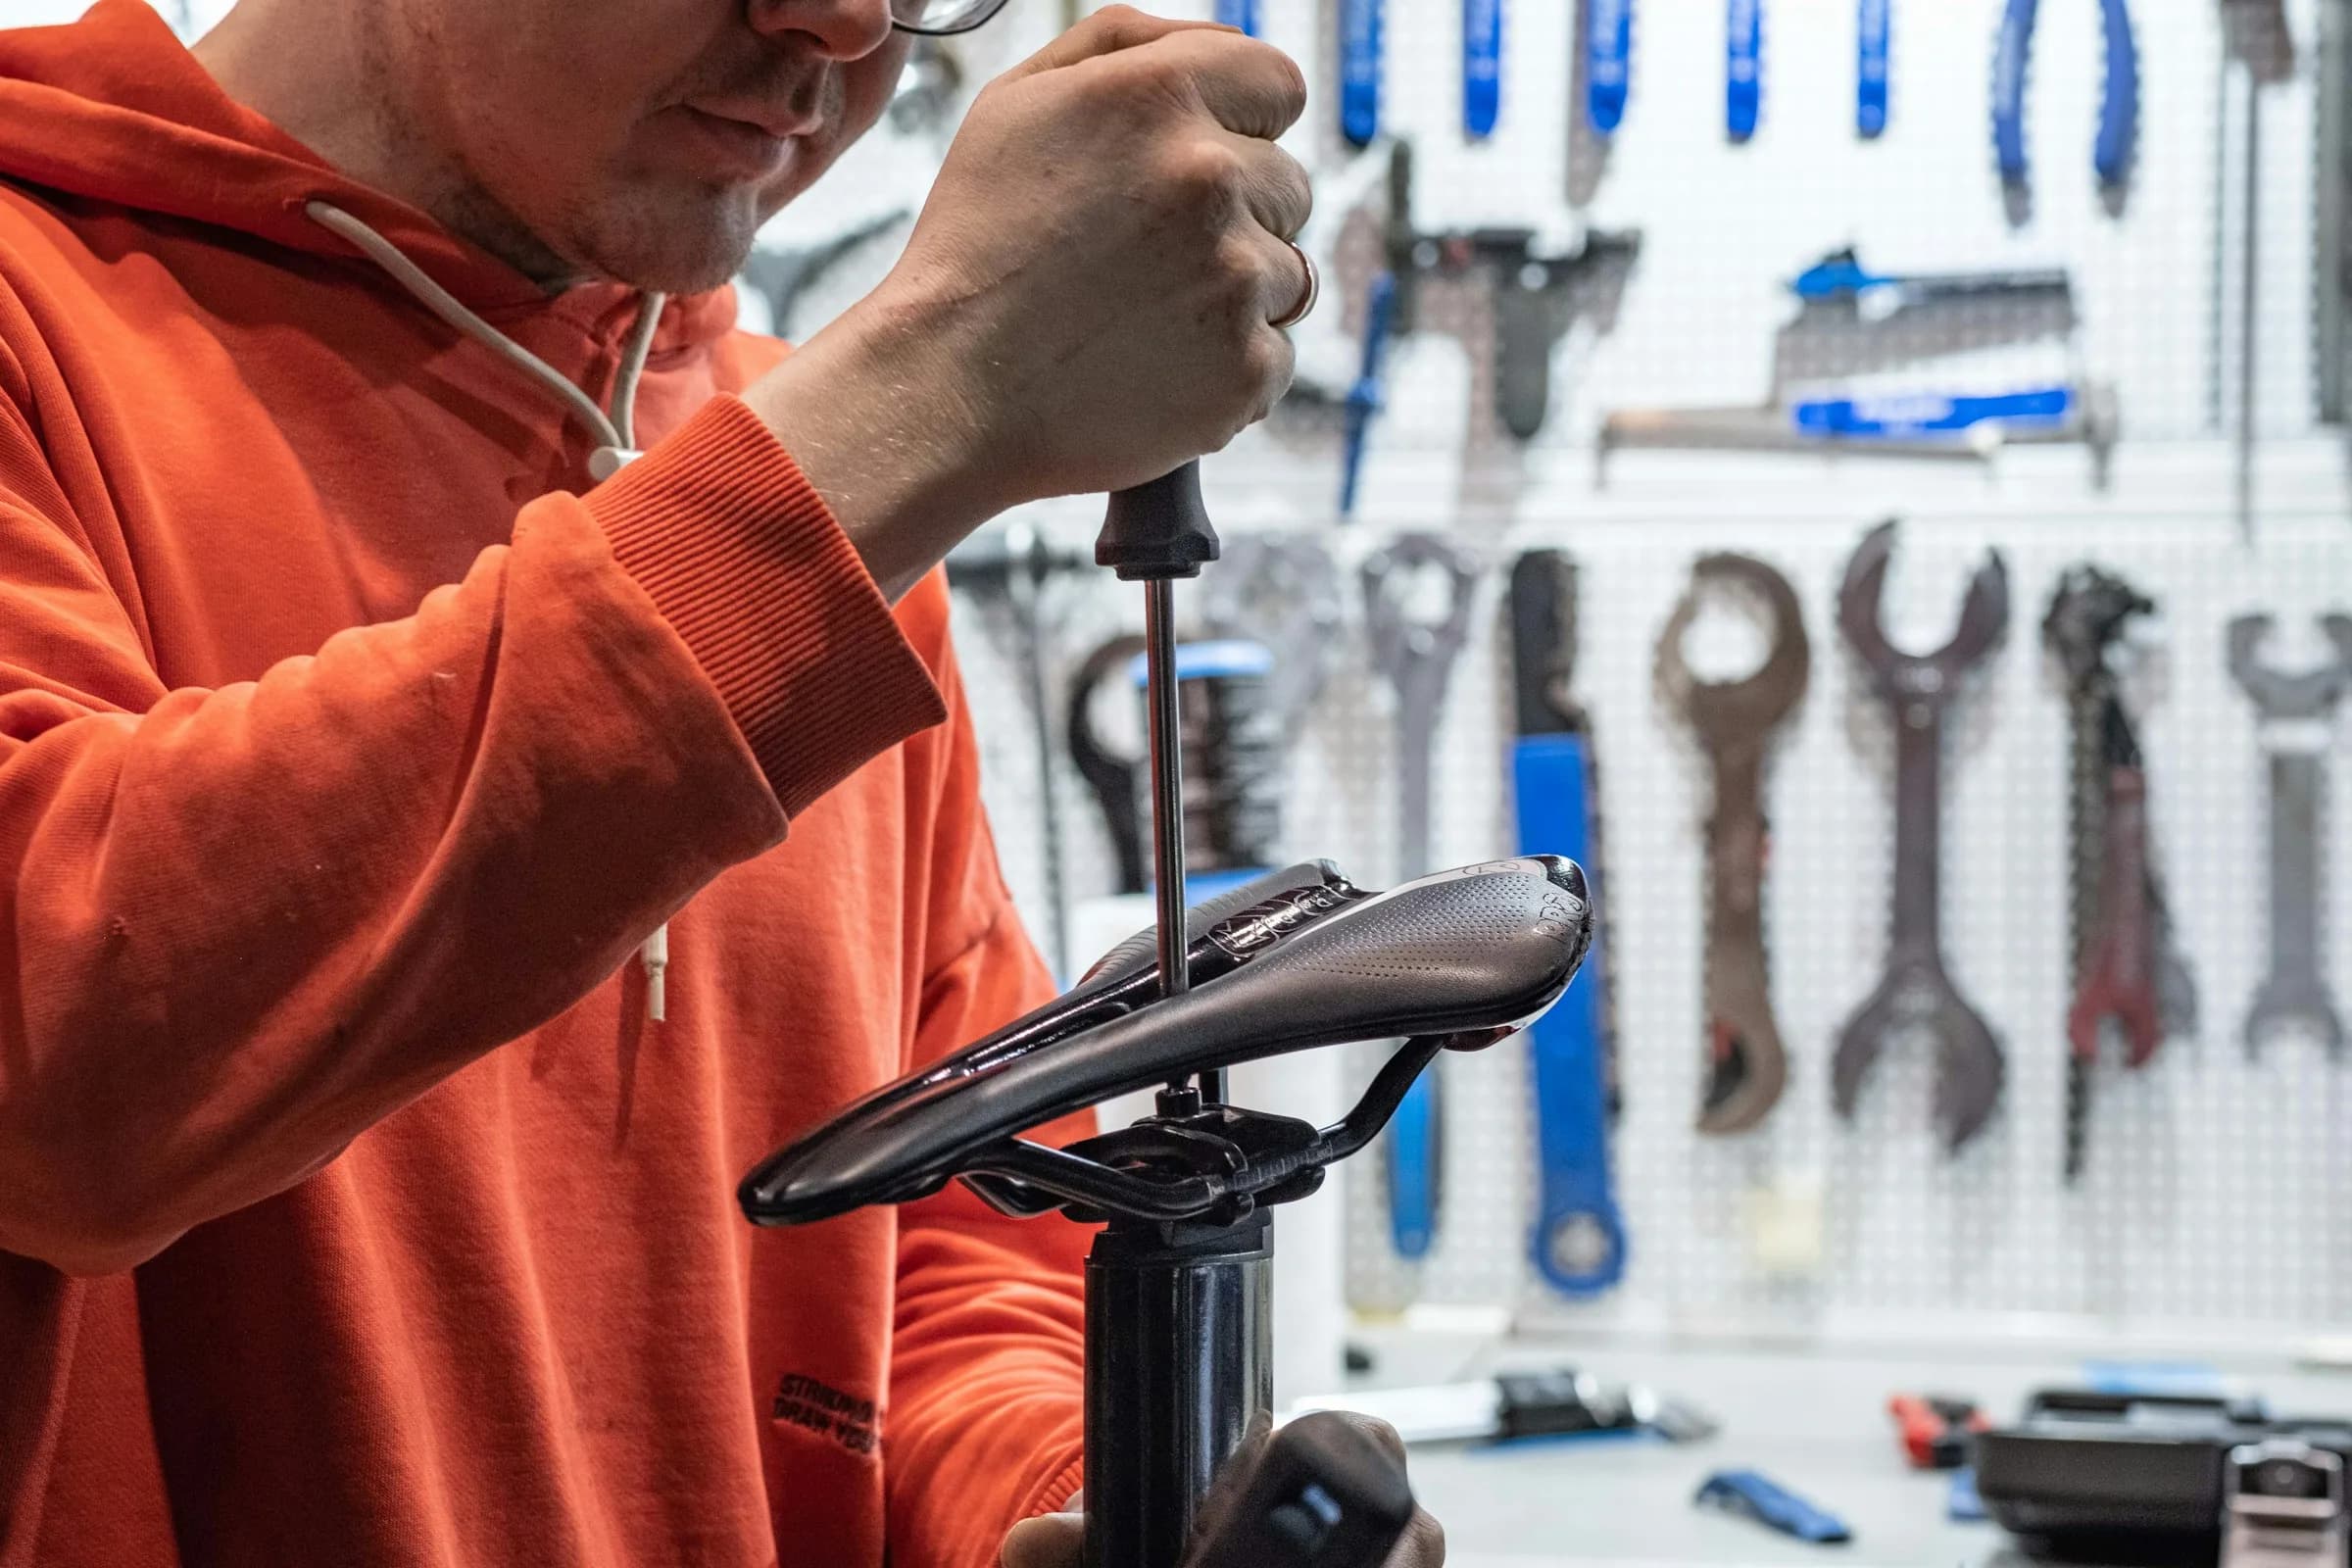
Get your bike serviced two to three weeks before the trip, not the week of it, then ride it at least 100 miles exactly as you'll ride it on the tour. Anything a mechanic adjusts, replaces or misses then shows up in those miles at home, where you can fix it, instead of on the second morning of the trip.
What most riders are actually worried about is losing a day of the trip to something breaking. You can't rule out every flat. But a lot of what goes wrong on a trip was already there before you left: a tire that was already worn, a chain that was already stretched, or a part that was replaced the night before and never tested. Those you can find at home.
The short answer
- Book a full service two to three weeks out.
- Replace anything that's close to worn out at that service, not after the trip.
- Ride at least 100 miles on the bike after the service, in the setup you'll take.
- Change nothing about your position, saddle or shoes in the month before the trip.
- Pack a short list of spares that are specific to your bike.
- Put the bike back together the day you arrive and ride it before the first real day.
Why two to three weeks before the trip
A bike that's just been serviced isn't a tested bike. New cables stretch over the first few rides and the shifting goes slightly off. A new chain on a worn cassette can skip under load, and you won't find that out in the shop's stand. A brake that was bled can feel fine in the parking lot and soft on a long descent.
Two to three weeks gives you time to ride the bike, notice what's wrong, and get it back to the shop with time to spare. A service the week of the trip gives you none of that. Shops get busy, so book the slot early.
Tell the shop you're going on a multi-day trip. A mechanic who knows you're about to ride four or five days in a row will replace a part that's nearly worn out instead of telling you it has a little life left.
What to replace before the trip
For every part on this list, if it's close to worn out, replace it now. A part that would last another month at home won't last a week of long days back to back.
Tires
Look at the tread on the rear tire first, because it wears faster than the front. If the center has flattened out, or you can see cuts with the casing showing through, replace it. Pick small stones and glass out of the tread while you're looking.
If you put new tires on, ride them before the trip. You want to know a new tire is seated properly and holds its pressure overnight before you're relying on it.
If you run tubeless, check the sealant. It dries out inside the tire over a few months, and a tire with no liquid sealant left won't seal a puncture. Top it up at the service.
Chain and cassette
Have the shop check the chain with a chain checker. If it's due, replace it. If the chain was badly worn, ask the shop to check the cassette too, because a new chain on a worn cassette will skip on the cogs you use most.
Brake pads
Check how much pad is left. For disc brakes, if there's only about a millimeter of pad material left, replace them. A long day with real descents uses more pad than a month of flat rides at home. For rim brakes, check the wear lines on the pads and look at the rims for wear too.
Cables and housing
On a bike with mechanical shifting, ask the shop to look at the rear shift cable where it goes into the shifter. That's where it frays, and a cable that snaps there leaves you in one gear for the rest of the day. If it's been on the bike for more than a season of regular riding, replace it.
Cleats
Worn cleats make your foot move around on the pedal and can make it hard to clip in. If yours are worn down, replace them at least two weeks before the trip. Trace around the old cleat on the sole of the shoe first, so the new one goes on in exactly the same spot, then ride on them before you go.
Bar tape
Torn or slippery bar tape won't stop you from riding. But you'll be holding those bars for most of every day, so if it's worn through, this is the time to replace it.
What not to change before the trip
Don't try anything new in the month before the trip. That means:
- No new saddle
- No new shoes
- No new bib shorts you've never ridden a long day in
- No change to your saddle height or handlebar position
- No new bike fit
None of them should be tested for the first time on a trip where you ride day after day. Something that feels fine for two hours can hurt on the fourth day in a row. If you're going to change your position, do it two months out and ride plenty on it before the trip.
Electronic shifting and other things that need charging
If your bike has electronic shifting, charge the battery fully the night before you leave, and bring the charger. A battery that runs flat leaves you stuck in one gear, and a week of long days is a lot of shifting.
Some electronic shifters run on small coin-cell batteries, separate from the main battery. Check which size yours takes and pack a spare.
Make a list of every charger before you leave: shifting, bike computer, lights, phone, and a power meter if it's rechargeable. Then pack them all in one bag.
The spares that are specific to your bike
On a good guided trip, someone can fix a flat or adjust your shifting on the road. What nobody can carry is a part that only fits your bike. These are the spares to bring yourself:
- A spare rear derailleur hanger for your frame. Hangers are different for almost every frame, and when a bike gets damaged on a flight, the hanger and the wheels are the parts that get hit. A bike shop at the destination can fit one, but only if it has the one for your frame in stock.
- A spare set of brake pads for your exact brakes.
- A chain quick link that matches your chain.
- Two tubes in your size, even if you run tubeless.
- Tubeless plugs, if you run tubeless.
- A spare tubeless valve core, if you run tubeless.
Bring your usual flat kit as well. The full list of what to pack, on and off the bike, is in our cycling tour packing list.
Ride it once, exactly as you'll ride it on the trip
About a week before the trip, do one long ride with the bike set up exactly as it'll be on the tour. Same tires, same pressure, same saddle bag, same lights, same bottles, same kit. It's the last chance to find a rattle, a rubbing brake or a computer that won't pair with your new sensor.
If anything goes wrong on that ride, you still have time to get it fixed.
After you fly with it
If you're flying, the bike comes apart before the trip and goes back together when you land, and that's when the last few problems show up. How to get it there in the first place is its own post: how to get your bike to a bike tour.
When you put it back together, check these before the first real ride:
- The derailleur hanger is straight and the shifting goes cleanly through every gear
- The disc brake rotors aren't bent and nothing rubs when you spin the wheels
- The stem and handlebar bolts are tight, to the torque printed on the parts
- The thru-axles or quick releases are fully closed
- The tires are pumped to your usual pressure
Then ride it, even if it's just a few minutes around the parking lot. Shift through every gear, brake hard a few times, and listen for anything new. If something's wrong, you've found it the day you arrived, with time to get it fixed.